Journal
Notes from the studio — process, exhibitions, and works in progress.
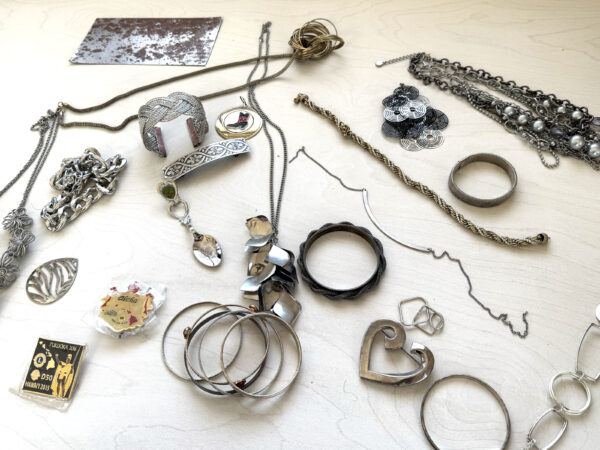
In the Studio with Radical Jewelry Makeover: Webinar Series A couple of Fridays ago, I got up pre-dawn (just before 6am, AWST) to be online for the second in…
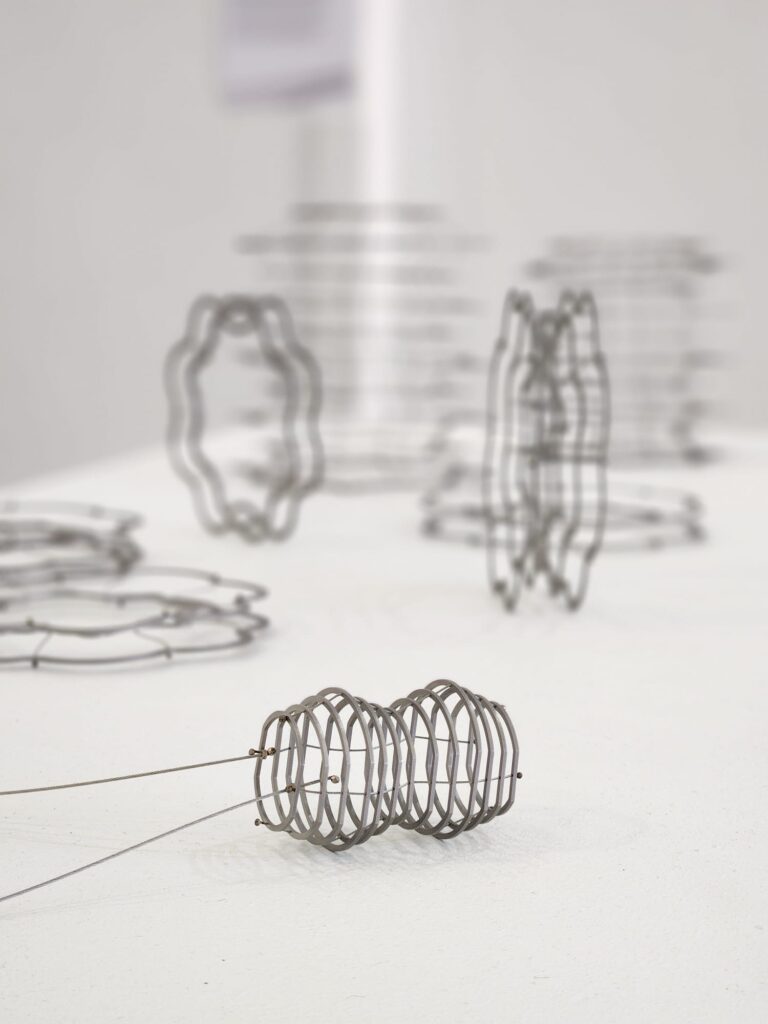
Eep! We’re already half-way into this one-week superfast-superfun show at Shopfront Gallery at 149 Beaufort St in Boorloo/Perth. I’ve been all over Insta and…
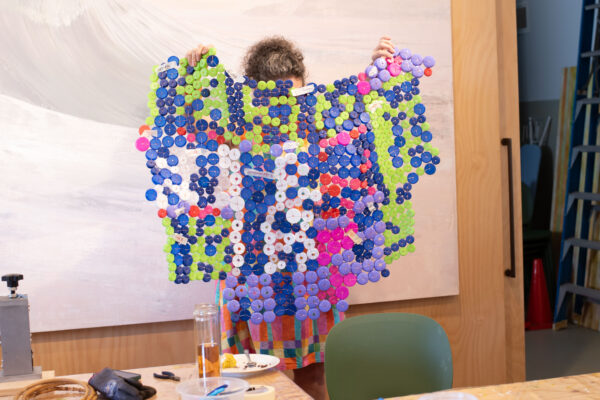
Midland Junction Arts Centre – Workshop Over two days learn specific tools and techniques to turn scrap copper and plastics into unique wearable jewels. In…
Oh yeah, it’s time! TOMORROW NIGHT, 27th of Feb 2026, Sick AF the touring exhibition will be launched in Kepa Kurl / Esperance at the Cannery Arts Centre. The…
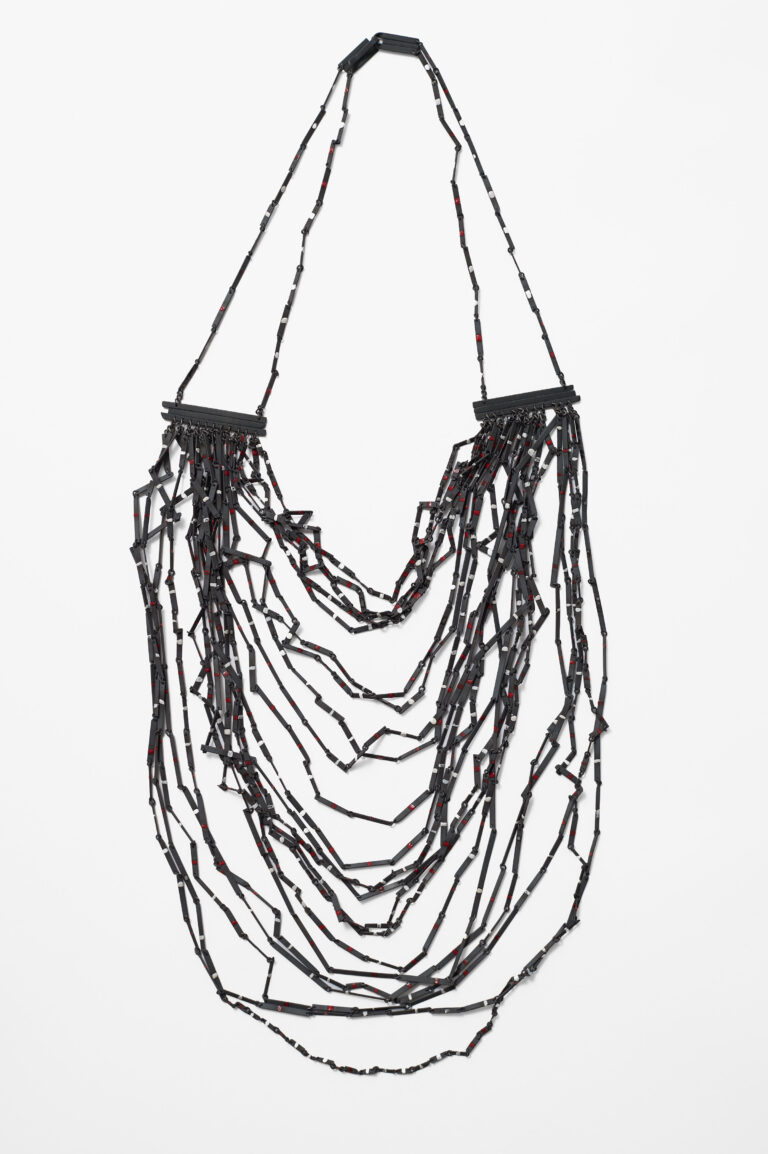
Late notice, I know, but… Alta Forma is part of FUTUREOBJEKT at Melbourne Art Fair! Alta Forma is thrilled to present Roseanne Bartley, Sam Blomley and Gilda…
Hey there reader, it’s a very occasional YouTube roundup. I have Adam Savage first, with a bunch of jeweller-related material in his 2025 end-of-year roundup.…
Hello! We’ve made it though the back end of ’25 and into a new year, with global shenanigans barrelling on (oohhh, barrelling, like oil?) at a pace that 2020…
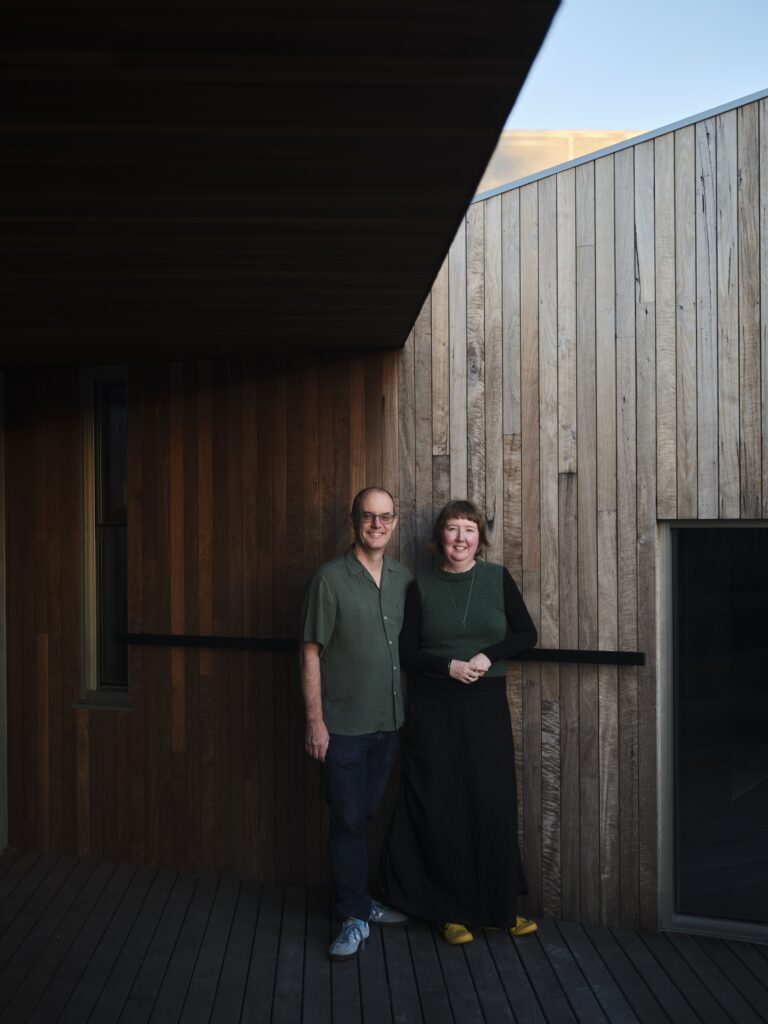
Y’all, we did it, we’re in! Please come help us celebrate the launch of the new house and studio, and the good friends who made it all happen. Katherine and…
Y’all. It’s happening. Some of you have pieces of recycled jarrah that I’ve been passing around the country; these are jewellery-scale offcuts from our build.…
Team! The IOTA Curatorium has been assembled, and they are CURRENTLY IN BOORLOO (Perth) checking out the neighbourhood, in advance of making some great calls…
Do your job well enough and they might give you more time to have more fun! Head over to Insta to see the full promo vid of what we’re getting up to. Are you…
ADC has just staged THE Helen Britton retrospective, endowing her with the Master Maker – Living Treasure of Australian Craft title, the latest in the series.…